Are you a parent, caretaker, babysitter, or homeschooler looking to pack in a full day in nature with your kiddos? Ideal for ages 5-13, this learning adventure is designed for those who want to discover and awaken their senses to the natural world around them with a bit of nature based learning. Going on a nature walk with an intention to learn encourages children to observe with all their senses and care for the environment. The benefits of structuring an experience like this for children is that they learn to focus their attention and appreciate the world around them.
Begin this land-based learning journey with an acknowledgement and understanding of whose traditional land you are exploring. Visit https://native-land.ca/ as a starting point to learn more about Indigenous groups in your area.
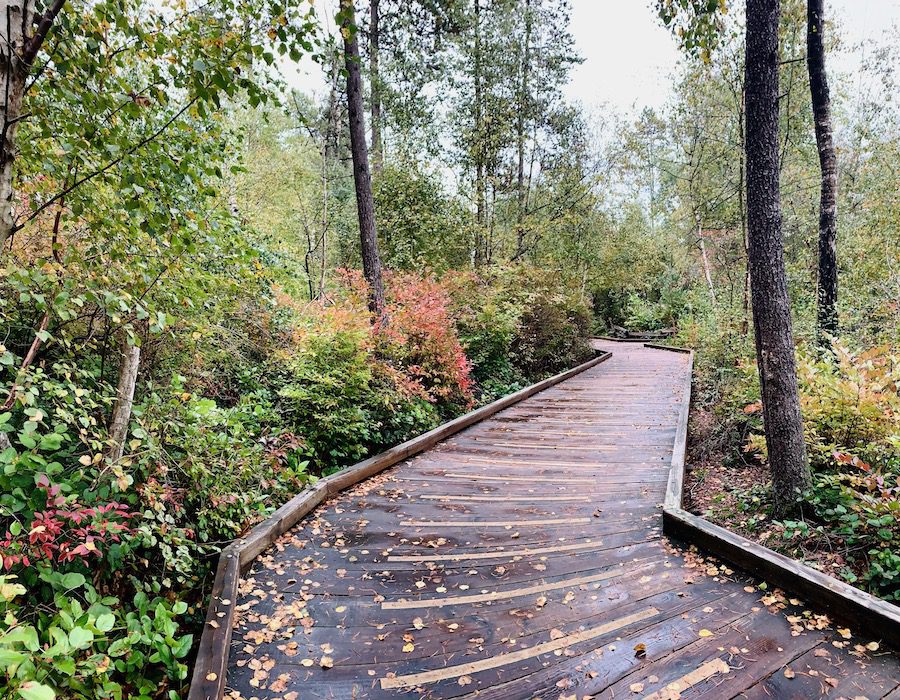
As you embark upon nature adventures with your children, begin to set habits that will hopefully ensure a lifetime of safe outdoor adventures. This means getting them in the habit of packing a bag with safety essentials, such as: water, snacks, sunscreen, a flashlight, a first-aid kit, a trail map, and extra layers.
Materials you’ll need to pack for this learning journey of discovery, specifically, are: a journal and pencil, a blindfold (or bandana/scarf), and an empty glass jar.
Now you’re ready to take this 10-part guide with you on a walk or hike in any natural setting!
Part 1: The Journey Begins
Start your nature adventure early in the morning. Your child may need some hot chocolate or tea to get motivated, but if you arrive at your destination as the sun begins to rise and the birds begin to chirp, a feeling of magic and serenity will set the tone for a beautiful day.
As you drive, walk, or bike to your destination, ask your child a few prompting questions, such as: “what animals or wildlife do you expect to see today?” and “how do you think the weather will impact our experience today?”
Part 2: Tuning In
When you arrive at your destination outside, tell everyone to close their eyes (and you should too!) Be quiet for a few minutes and silently count how many sounds you hear by raising a finger each time you hear a new one. After two minutes or so, everyone may open their eyes and show how many fingers they are holding up. Take turns sharing the sounds that you heard.
Part 3: Orientation
After walking on the trail for about 10 minutes, use a compass (nowadays readily available on your smartphone) to determine north, south, east and west. As you face to the east, share this information with your child:
The Sun rises in the east and sets in the west because of Earth’s rotation. Throughout the year, the amount of sunlight we experience is changed by our planet’s tilted axis. Many ancient cultures tracked this daily pattern, even before humans developed language to name these directions. The creation of natural sculptures and land carvings were used to track the movement of the Sun.
Next, place a natural object (such as a leaf, rock, stick, or shell) slightly east of you. Ask your child to add something to the west, then place something to the north and south. Create a natural compass and continue adding artistic touches to it. When you finish, step back to admire your land art and let your child ask questions about time and space. It’s OK to not have all the answers!
Part 4: Meet a Tree (or Meet a Marker)
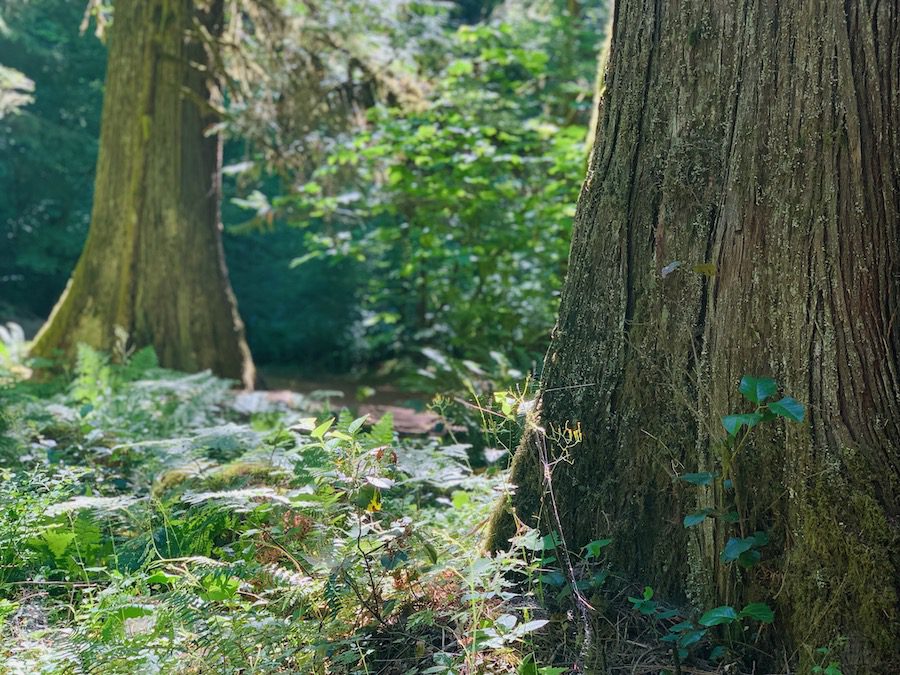
When you come to an area with a few trees or landmarks (large stones, bushes, etc.), play this blindfold game:
Place the blindfold on your child and gently spin them around 3 times. Guide them by holding their hand to a tree or landmark of your choosing. Tell them to spend some time feeling the tree or landmark. Feel from the ground up and get to know it by encouraging them to use all of their other senses. Walk them back to where you started and spin them 3 more times. Have them to remove their blindfold and try to guess which tree or landmark they explored! Next, let them blindfold you.
Part 5: Seeing Things
At any point in your journey, use the glass jar to magnify a few natural objects. Fill it with water and place objects inside to see how water can be used as a natural magnifying glass. For older kids who want to know a bit about the physics of this, you can share this with them:
The reason that objects sometimes appear magnified when under water has to do with the curvature of the water surface. For example, when you put a small drop of water on top of an object…the object looks bigger. The curved surface, unlike a flat surface, bends the light as it comes out from the water, and causes this magnification effect. This effect is very similar to how a microscope or magnifying glass works, except instead of a curved drop of water, the lens is made of a curved piece of glass. The more curved the water droplet (or glass lens) is, the higher the magnification.”
Encouraging curiosity for a lifetime. (2020). UCSB Science Line. http://scienceline.ucsb.edu/getkey.php?key=1783
Part 6: Nature Feast
Time to find a nice spot with a view to enjoy your packed snacks or lunch. If you happen to have an identification guide with you, see if there are any edible plants or berries in your area. If you decide to forage from nature, however, please keep a few things in mind: always, if you aren’t sure, don’t eat it! Please be mindful of what you harvest – never harvest more than you need and obey signage (it’s illegal to forage in some parks). Consider if what you are harvesting may be a critical food source for wildlife and if there is enough of that plant for them. And, as stated above, learn whose traditional territory you are on and ensure the plant is not for the exclusive use of Indigenous groups in your area.
Even if you decide not to forage today, or it is not an option where you are, the above points may make for interesting conversation with your child about respecting nature and being mindful about where your food comes from.
Part 7: A Small Quest
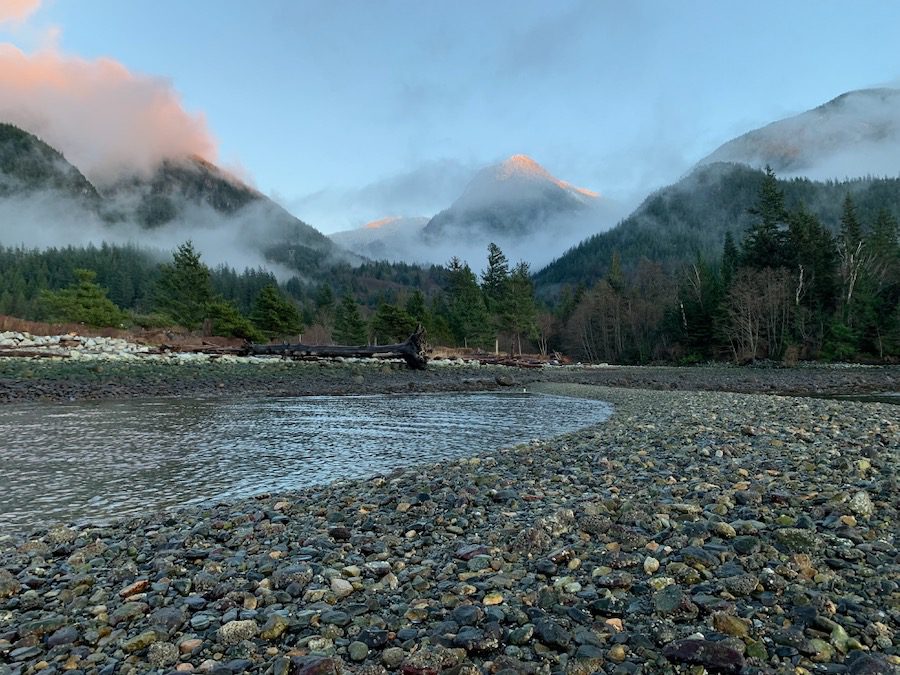
Now that you’re full and hydrated, it’s time for a small quest. Look for places (big or small) with the following qualities: wet, dry, hot, cold, windy, sticky, calm, crowded, open, noisy, peaceful. Write these down in your journal and try to check them off without venturing very far. Which of these qualities are the easiest to find at your location? Which can’t be found at all? Why might that be?
Depending on the age of your child, you could enhance this activity by adding more challenging adjectives or words in a different language.
Part 8: Scavengers
It’s time now for a simple game: Scavengers. This game can be played with two people or with a whole group. Find a quiet place with a bit of wiggle room (a few meters of space).
First, explain the concept of “scavengers” in nature (an animal that eats the remains of other animals that have been abandoned by predators). Some examples of scavengers include: coyotes, hyenas, crows, raccoons, and vultures.
Next, find a stick or an object to function as the “food.” Place this object three feet in front of you and turn around. You will be the “predator” first, and your kid (or group of kids) will be the “scavengers.” The “scavengers” should stand a few meters behind you. You will keep your back to them and their goal is to SILENTLY sneak up and steal the food without you hearing. If you think you hear someone sneaking up, whip around and point at them. They will have to go back to the start and try again. Play this until they successfully steal the “food” and the winner gets to try being the predator now!
Part 9: The Shadows
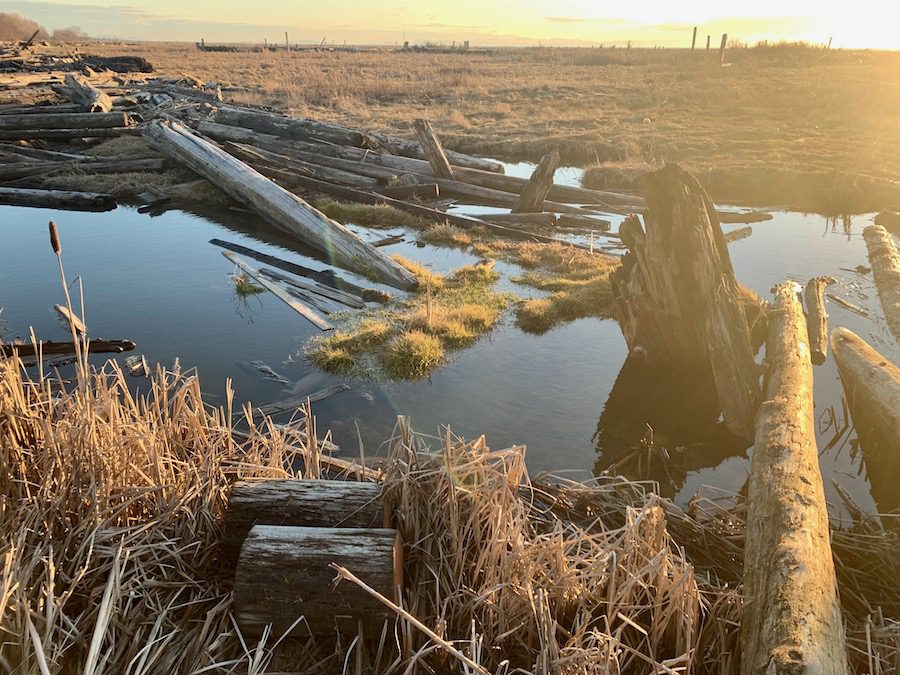
Now that the sun has moved across the sky, encourage your child to find an object hiding in a shadow – such as a leaf, a rock, a piece of bark, or a shell. Bring the object into the light and tell your child to pull out their journal. Direct them to hold the object over a blank sheet of paper, so that its own shadow is cast across the paper. Use a pencil to trace the outline of the shadow. It will be tempting to hold the object for your child and help them, but instead, encourage them to appreciate how a small change in position or angle will distort the shape in interesting ways.
If your child enjoys drawing, they can make silhouettes of the plant or object by filling the shadow sketch in with a solid color and/or design.
Part 10: Returning Home
On your way home, encourage your child to think of all the creatures that they noticed today. Where do they think they are heading ‘home’ for the evening? Do they have dens? Nests? Caves? Holes? Ask them, “if you were a creature in nature, where would you build your home?”
When you return home, ask your child to draw a simple map of the day using only their memory. Place stars next to the places along the walk that you both thought were interesting or special. Hang it on your fridge or keep it in your backpack for the next time you visit that place!
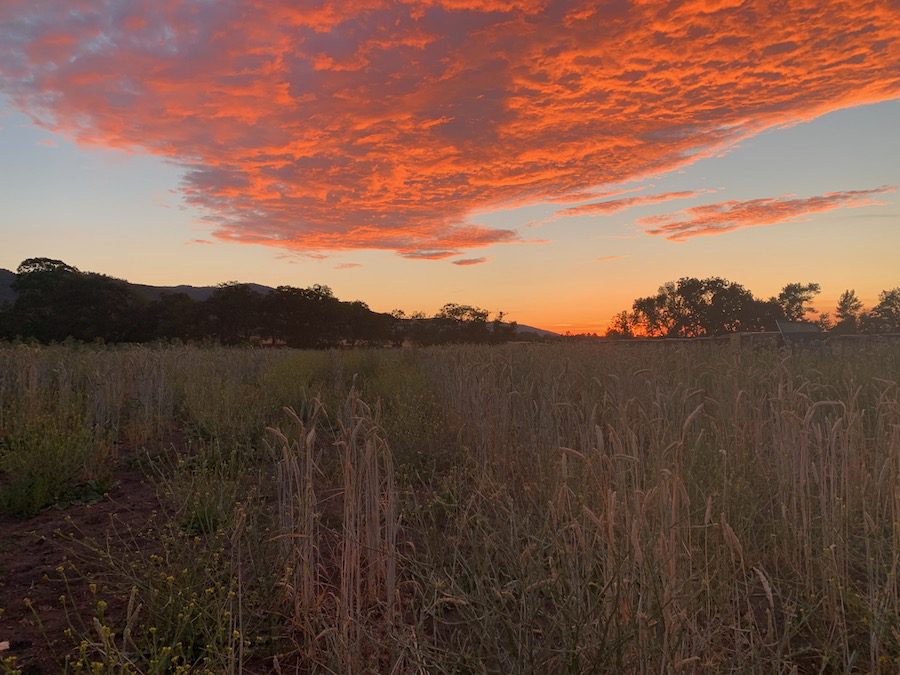
The activities in this journey are an amalgamation of classic mini-lessons that I as an outdoor educator have seen used by multiple different organizations and schools, and that come from classic books like Sharing the Joy of Nature with Children by Joseph Cornell. It’s important to give credit to the educators who have come before me and to the teaching community at large: professionals that promote a culture of sharing for the benefit of all. If you see something in this article that deserves original credit, please write it in the comments! All photographs were taken by the author.
[…] resources for school kids and families. For a tease to what’s to come, here’s a full day nature adventure that you can take with your kids to meet the local wildlife in your neighb…, written up by nature educator Erika Hurth. Also stay tuned to the Naturally Ours website and […]